Pressing Concerns
- Jun 30, 2018
- 4 min read
Updated: Dec 2, 2023

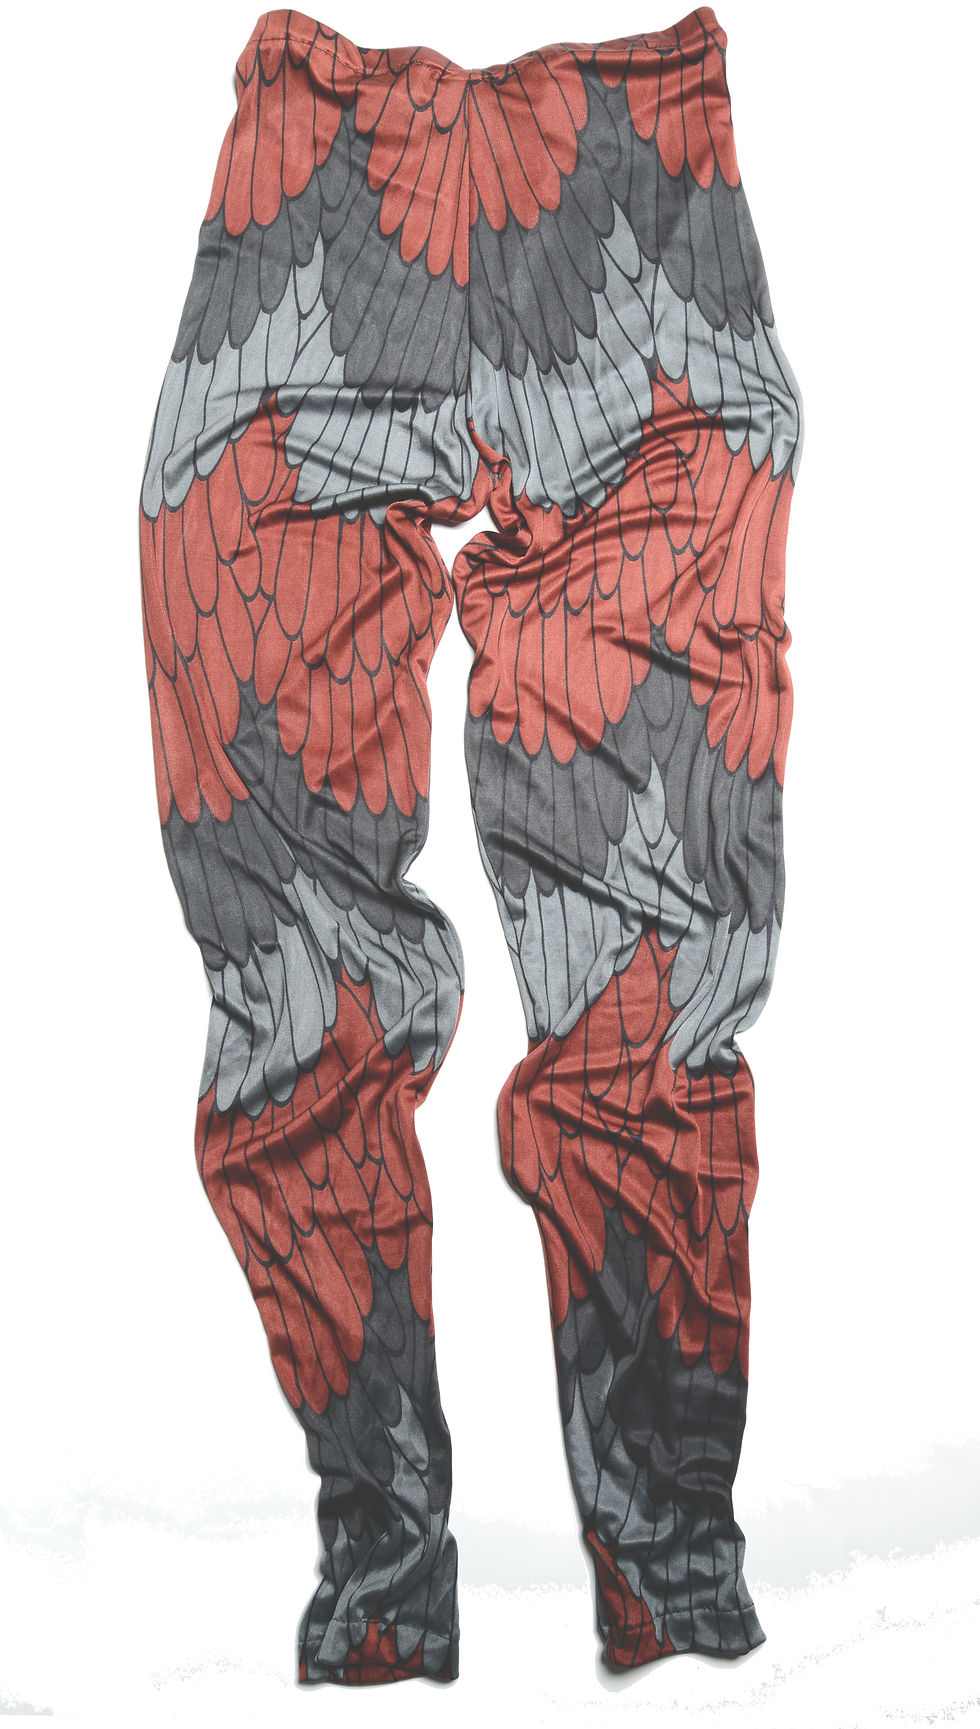
A few months ago, I was looking at a newsletter from a fabric vendor. The newsletter featured a DIY project that they did an editorial photoshoot with a model wearing the final garment. However, I could not overlook the bubbly, unprofessional look of the garment because of the lack of pressing that had been done before the photoshoot.
Let's have a serious heartfelt talk about this.
I understand. It's a lot of work. It's tiring. It takes a lot of time.
When I first was starting to sew, my mother taught me that the best sewist was the best presser. I was a lazy teen, so I tried to pretend that it didn't matter.
But when I started my clothing line years ago, pressing became a pressing concern. Those who have worked for me still tease me about how I made them press, like the Karate Kid "wax on, wax off" training.
So here's what I teach all of my trainees:
Why You Should Press


The objective of pressing is NOT getting rid of wrinkles in the body of the fabric. The objective is to make the pieces of fabric sewn together behave like one garment. Your goal is to make the seams lay flat, make the seamlines look and feel undetectable, and make the entire piece move fluidly like it had always been on article of clothing.
Unpressed garments look unprofessional, even if the larger panels of fabric are wrinkle-free. The unpressed piece will balloon around the seamlines and not lay flat. They will look "homemade" instead of "well made". Pressing improves the look of your garment construction to the point that no one will tell the difference between your clothing and store-bought clothing.
What You Need to Press
You will definitely need a good iron and a well-covered surface. Pressing tools may also include my favorite - a tailor's ham.
In general, use a heavyweight iron on the setting appropriate for the material being pressed. Pressing is all about pressure, not heat, so make sure that you put your weight into pressing and are using a sturdy surface. Even if you do not plan to use the steam from the iron, putting water in a non-leaky iron will improve the iron's effectiveness.
If you're doing it right, pressing can be quite a workout!
For velvet, use a pressing cloth or terry cloth towel between fabric and the iron.
For fabrics like spandex that are not ironed, finger pressing or rubbing against a right angle may do the trick, although the process is the same as below.
How to Press
Follow the order below as appropriate to the seam or hem that you are pressing with an explanation of each step. If you cannot
When you're sewing, you'll find that the iron should be handy. Don't leave pressing to the very end or you will have bulk in parts of your clothes that you cannot access with an iron later on.

Press in this order, focused only on the thread of the seam and not much on the fabric. The order is presuming a plain seam between two pieces of fabric with a straight stitch that will be finished as an open face seam.
Step 1: With the wrong sides of the fabric still together and the seam still closed after finishing your stitch, press the seam on either side with the tip of the iron and a lot of pressure. The goal of this to balance the tension of the top thread and bobbin.
Step 2: Open the seam with your finger. Using the front third of your iron, press the seam open with the interior of the fabric (wrong side) facing you. Pivot the iron from the handle and quickly shake the iron from side to side as you advance the iron along the open seam. This waving movement will help to open the seam to lay flat without the seam allowance creasing the fabric on the right side.
Step 3: Flip the fabric to the right side. Make small circles along the seam to "melt" the two pieces of fabric into one. The goal is to make the fibers from both panels intermingle. By now, the seam should be barely noticeable.
Step 4: Return to the interior of the seam. Focus the iron on the seamline again, using the mid third of the iron like a suction cup. Press quickly, shimmy the iron as in step 2 but from the mid third, and pull up. This step is to literally coax any slack in the seam to the interior.

All done for that seam anyway! Your sewn pieces should flow in the air together as though they were one piece of fabric.
Skip any step that does not make sense, as in a hem, flat felled seam or French seam. For instance, a hem would use step 1, 3, and 4. In general, the last pressing should be on the interior of the garment.
Play with your pressed garment and revel in your work. Then get ready to do it a lot more times!
I hope some of this is a good reminder or helpful advice. I'm just passing on what I learned. Thank you, Mom!


Comments